How to set up card payments
On this page
To charge your patients online you need to connect your payment account. On this screen you declare what your organization does and connect the account where Stripe will deposit your money.
Tax details (tax ID, tax-authority resolutions and numbering) are configured separately — see How to set up billing.
Before you start
- You only see this form if your organization does not yet have a payment account connected. If you already connected one, the screen shows the account status instead of the form.
- Have your business email and bank account details ready.
Steps
-
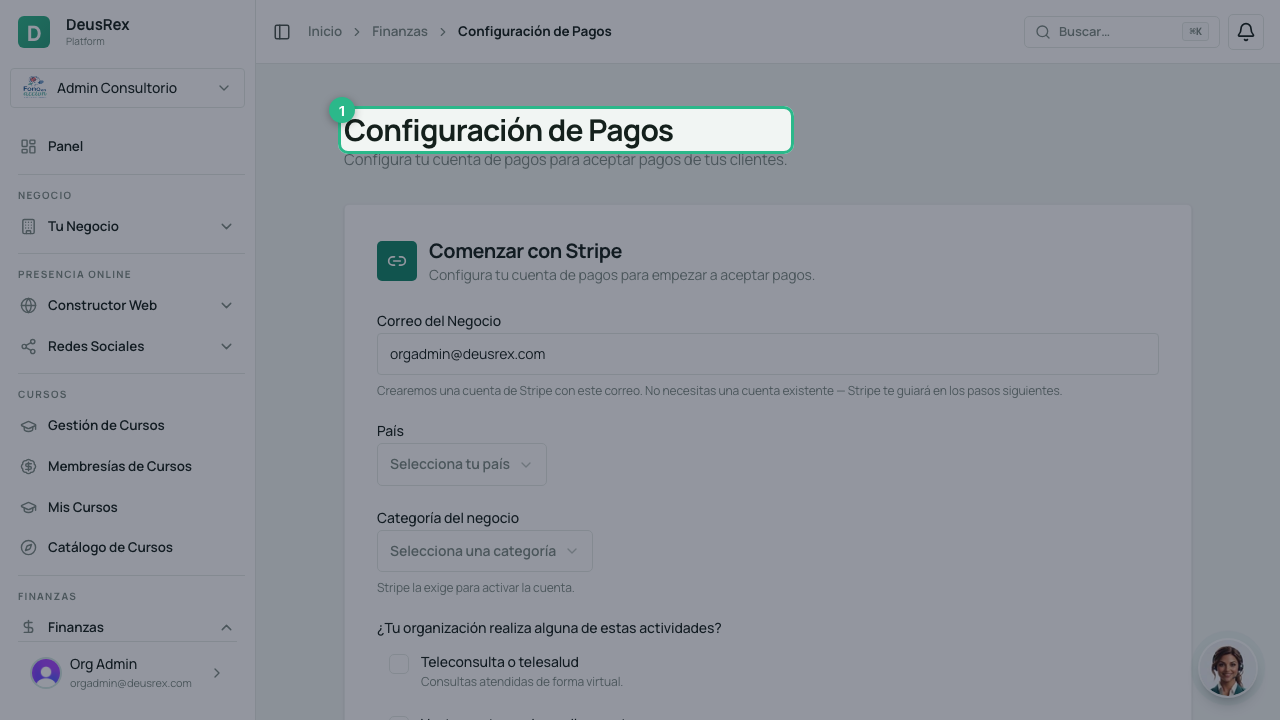
Open Finance → Payment Settings.
-
Confirm the business email. Stripe sends account notifications there.
-
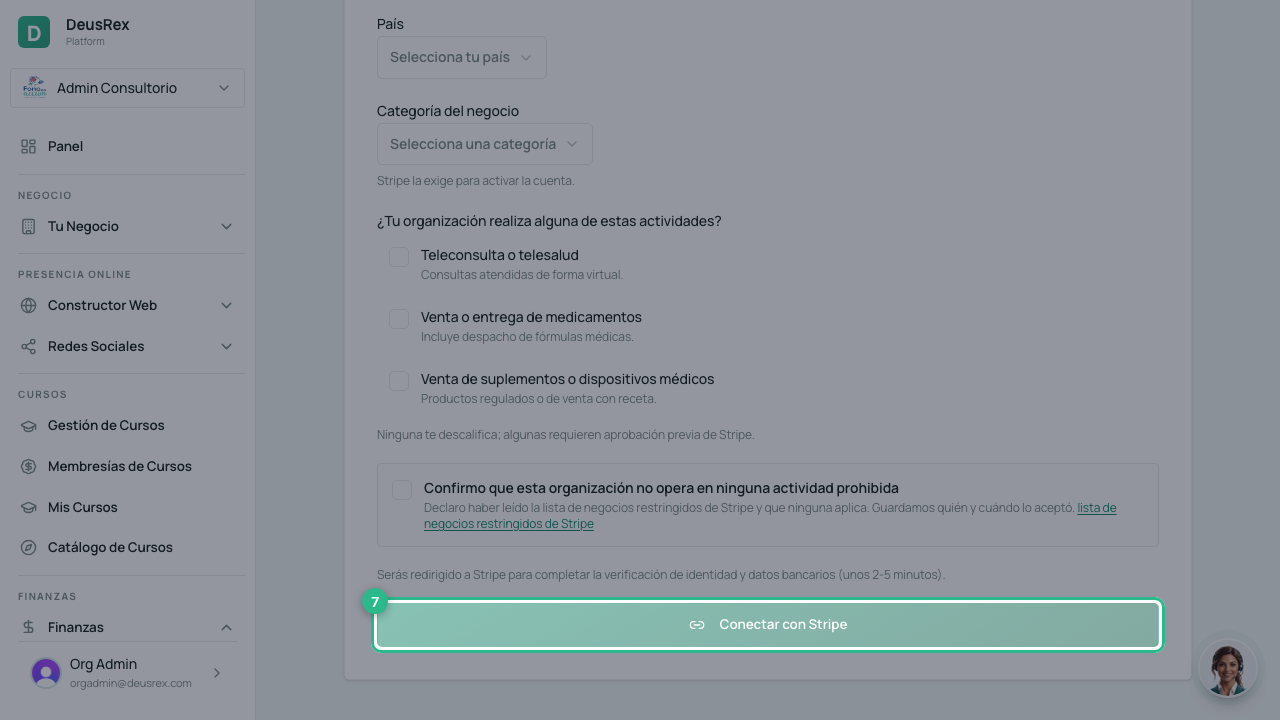
Check the country. It comes from your organization settings; if it is wrong, fix it in Settings first.
-
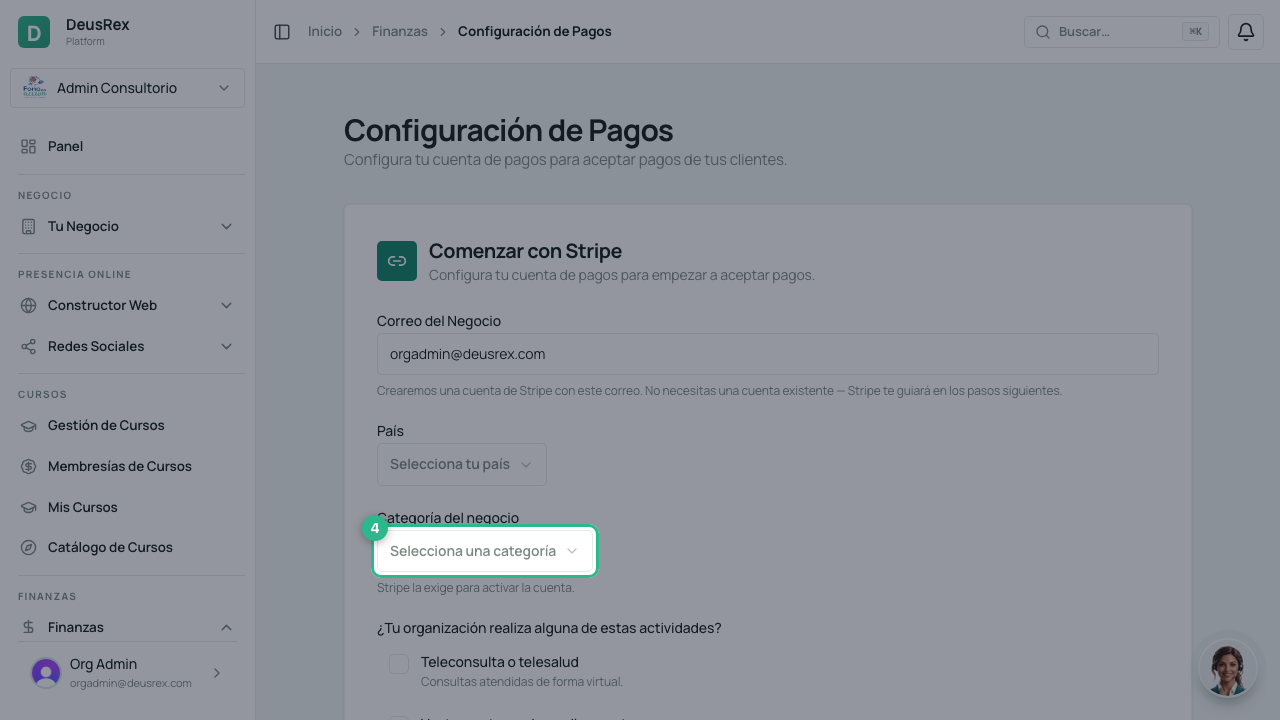
Choose the business category (medical practice, dental practice, hospital or clinic, or other health services). Stripe requires it to activate the account.
-
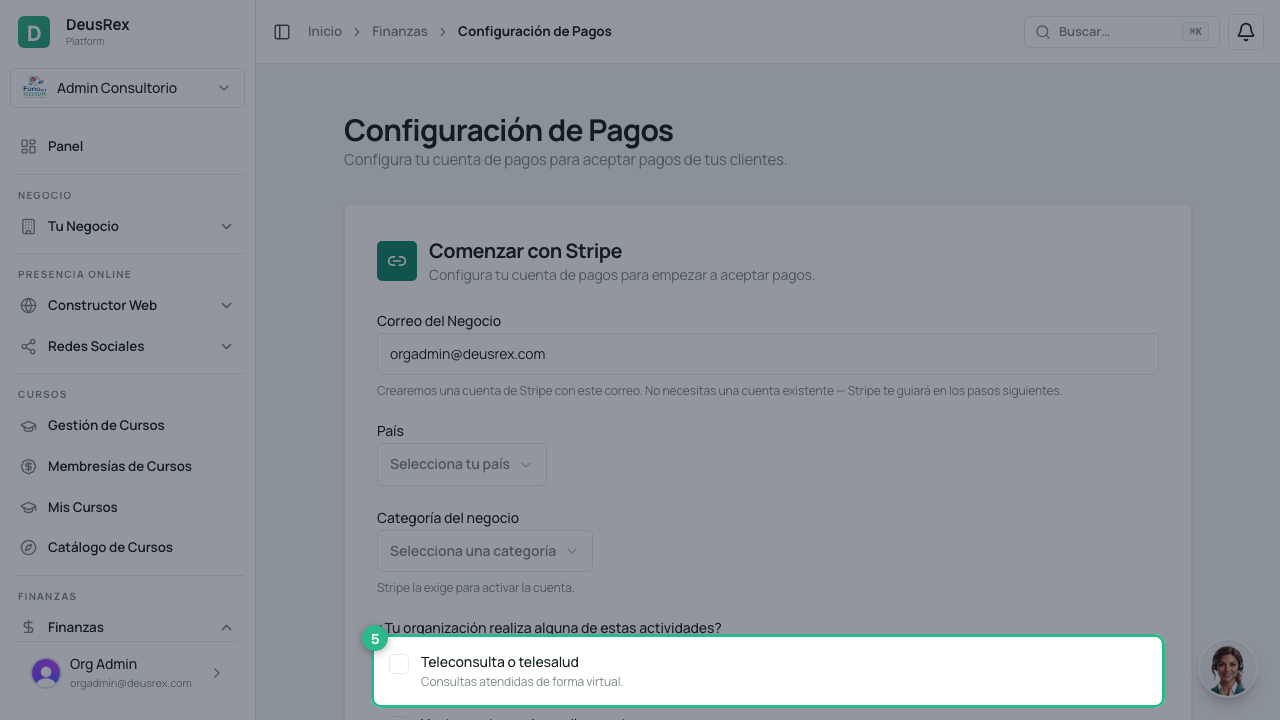
Declare whether your organization does any of the activities Stripe reviews: telehealth, selling or delivering medication, or selling supplements and medical devices. None of them disqualify you, but some need Stripe’s prior approval.
-
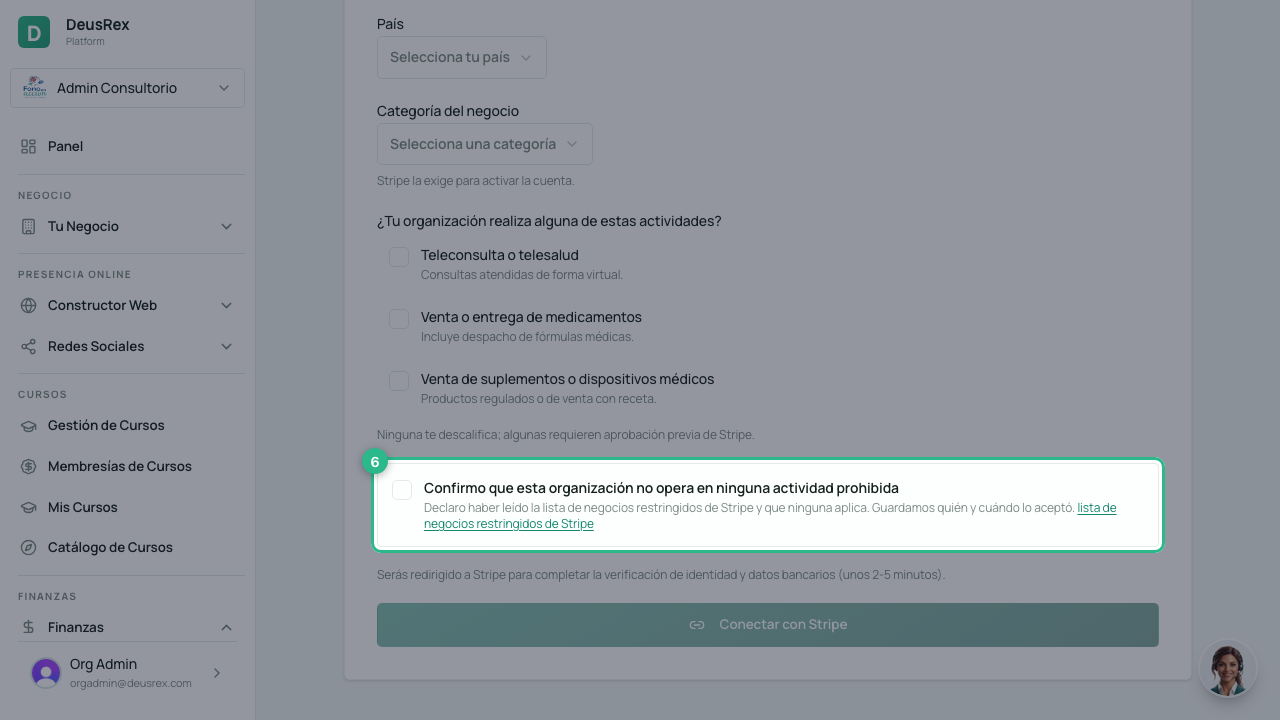
Accept the restricted businesses declaration. The account cannot be created without it. We record who accepted it and when.
-
Press Connect with Stripe. The account is created immediately and the verification form opens on that same page.
Verification: identity and bank account
You never leave DeusRex and you never open a Stripe page. The form appears right here, in four steps. Each step is sent to Stripe when you press Continue, so you must press it to move on.
You do not have to finish in one sitting: if you close the page or reload, we pick up at the step you were on, with the account type you already chose.
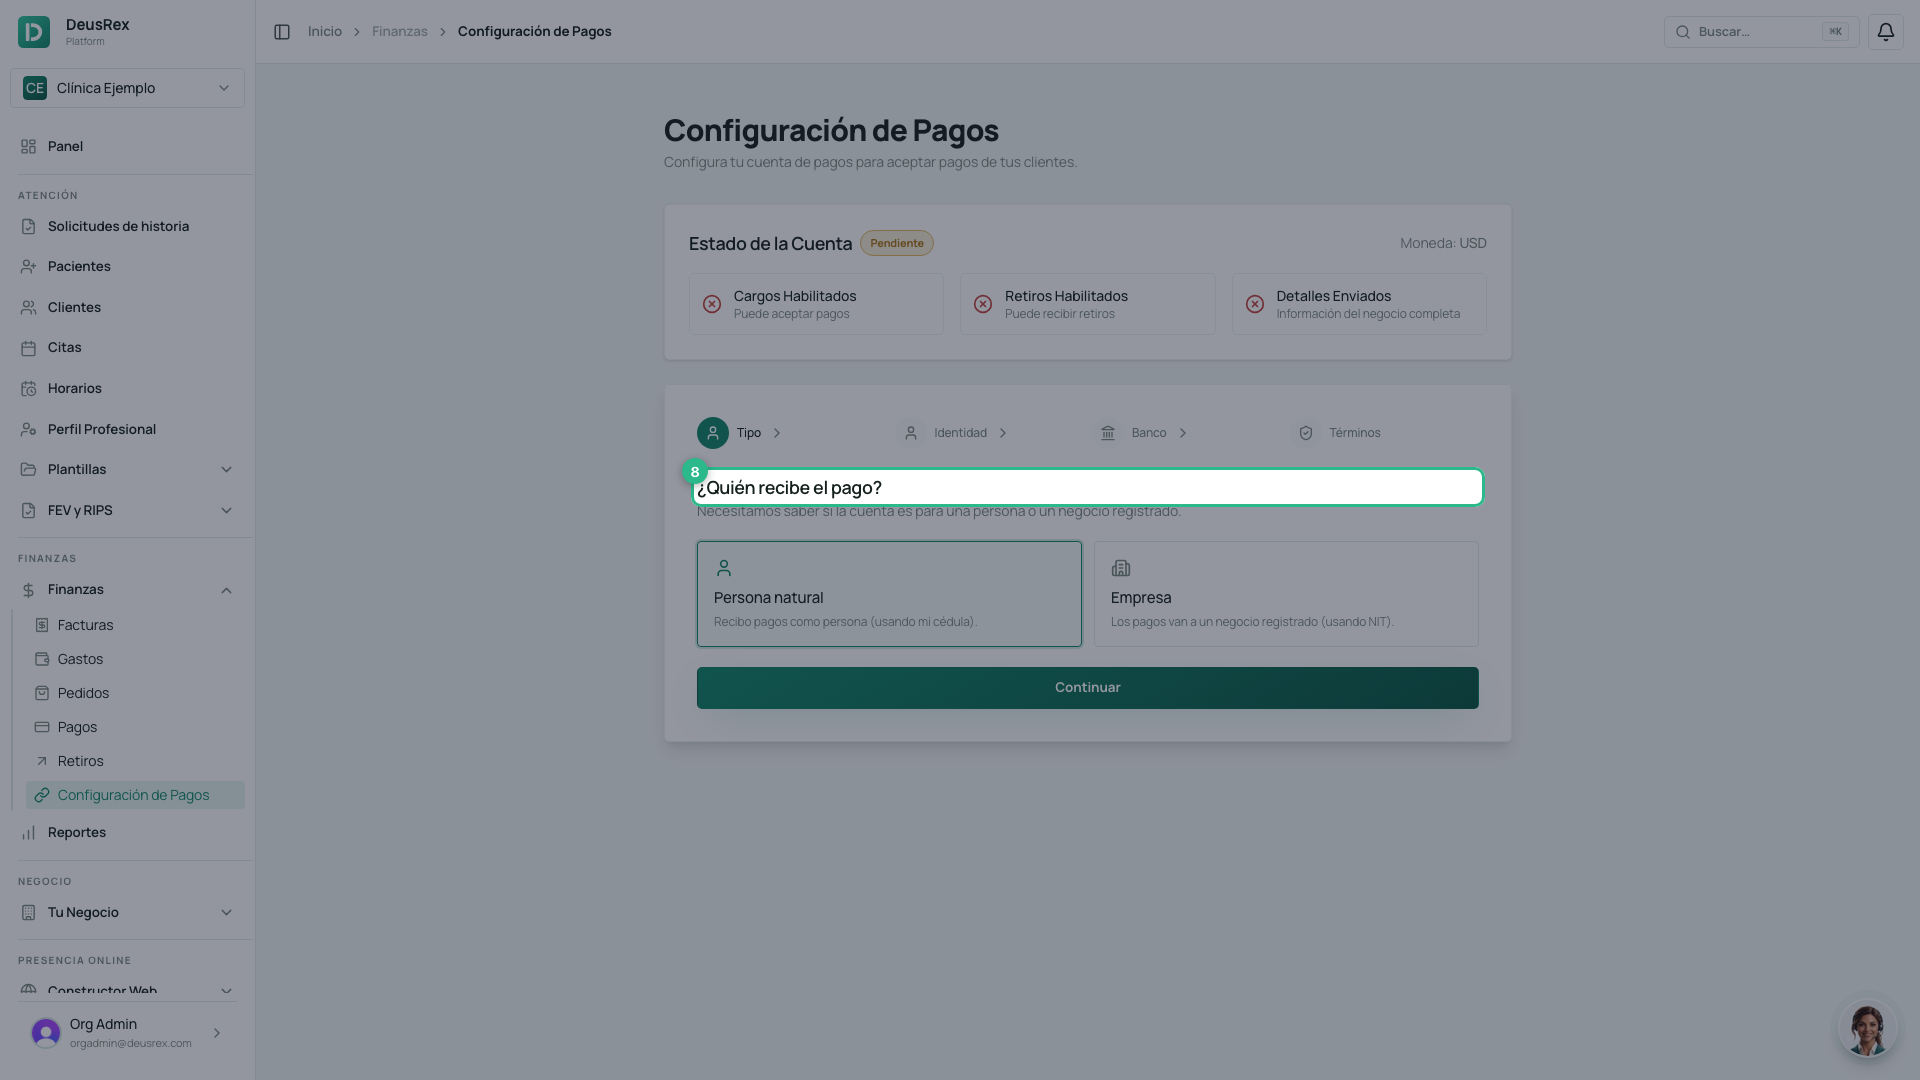
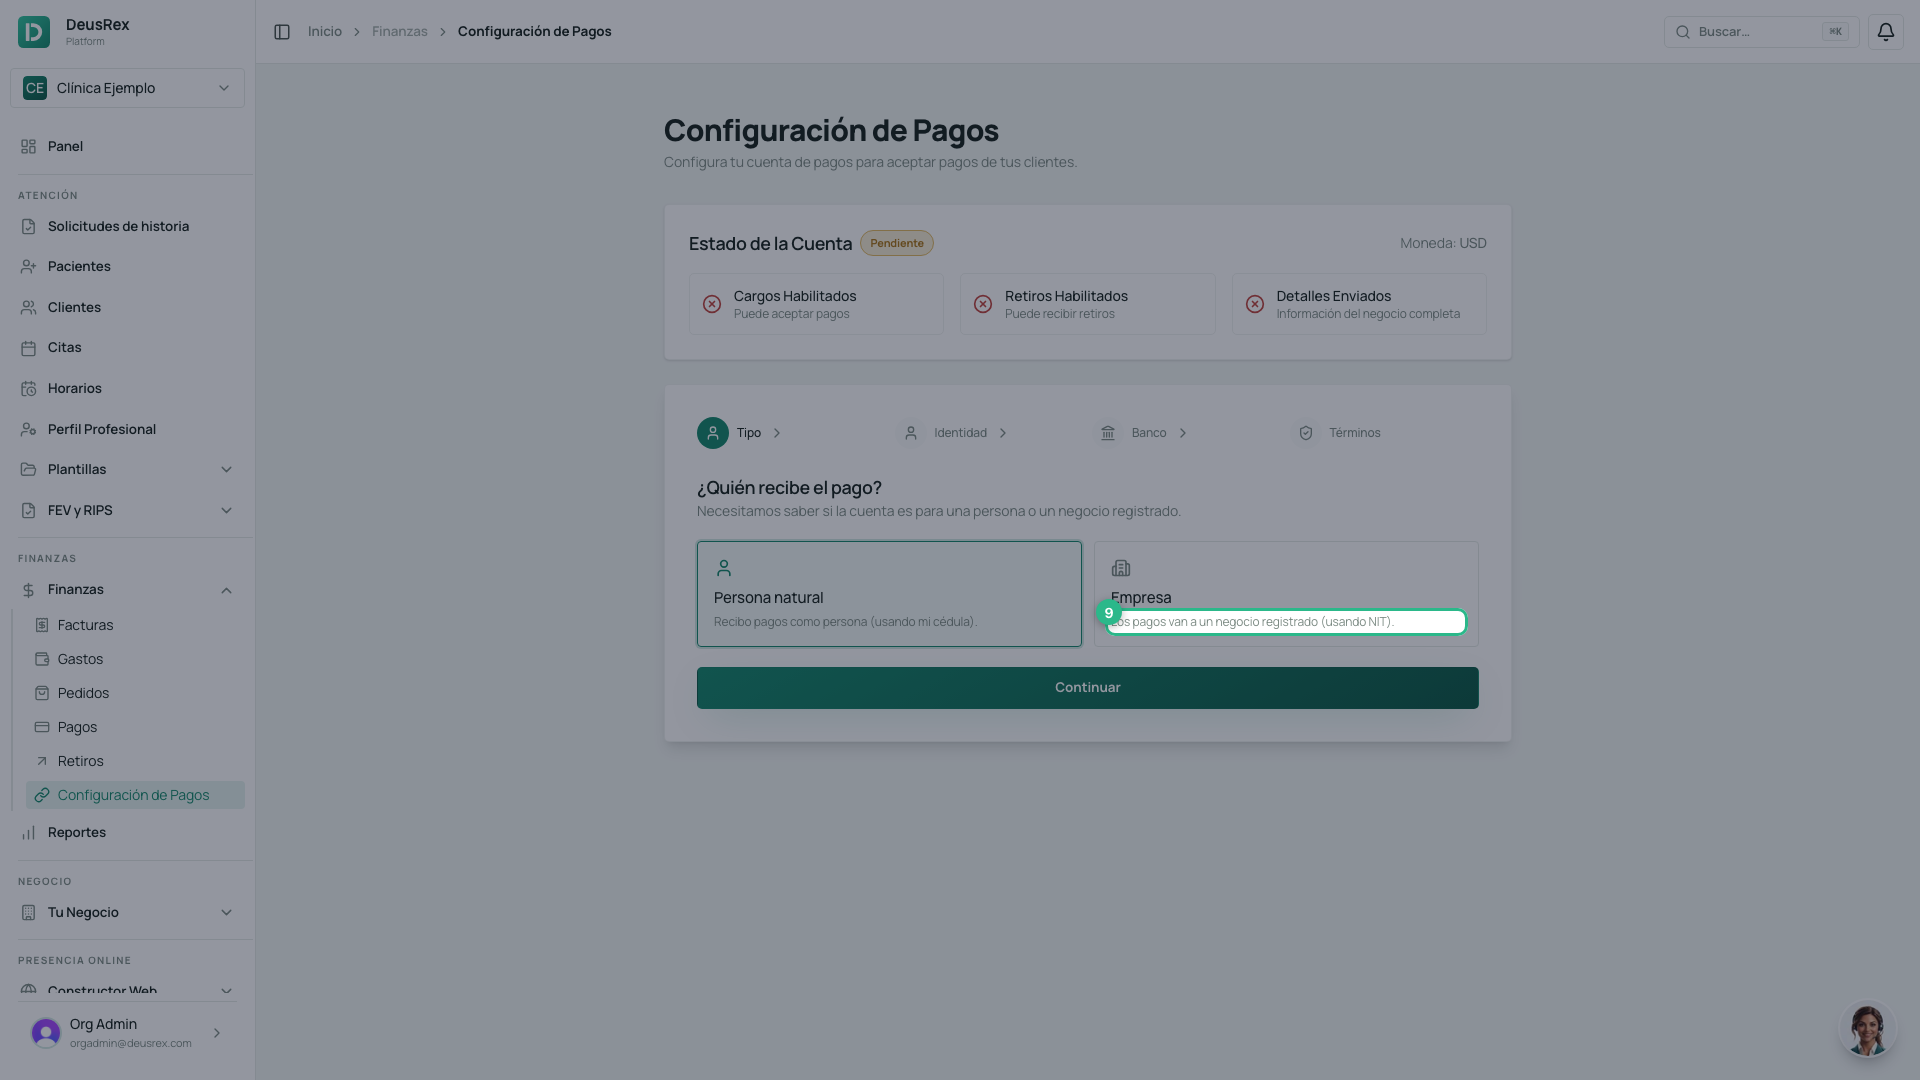
1. Who receives the payment?
Choose Company if payments go to a registered business with a tax ID, or Individual if you receive them under your own ID. Then press Continue.
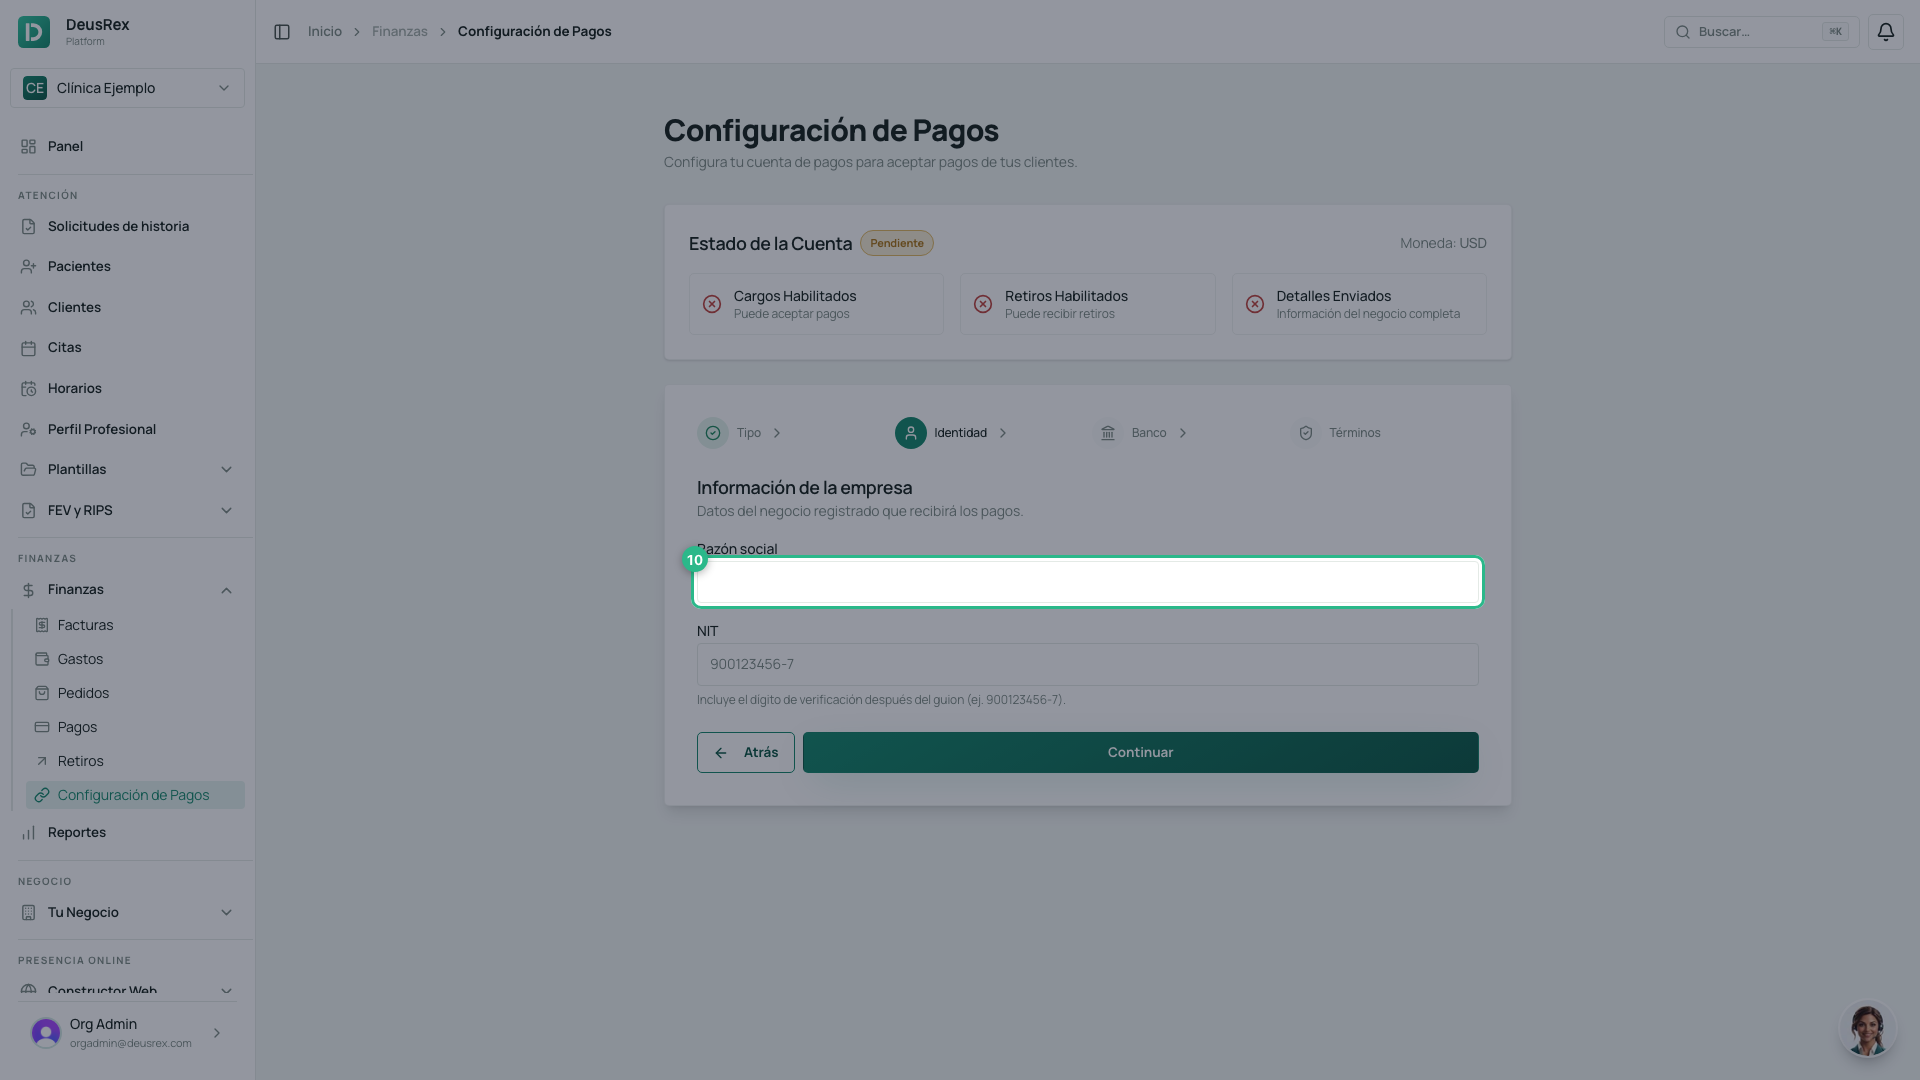
2. Business details
Enter the legal name and the tax ID. In Colombia, include the check
digit after the hyphen (for example 900123456-7). If you chose Individual,
this step asks for first and last names, date of birth and ID number instead.
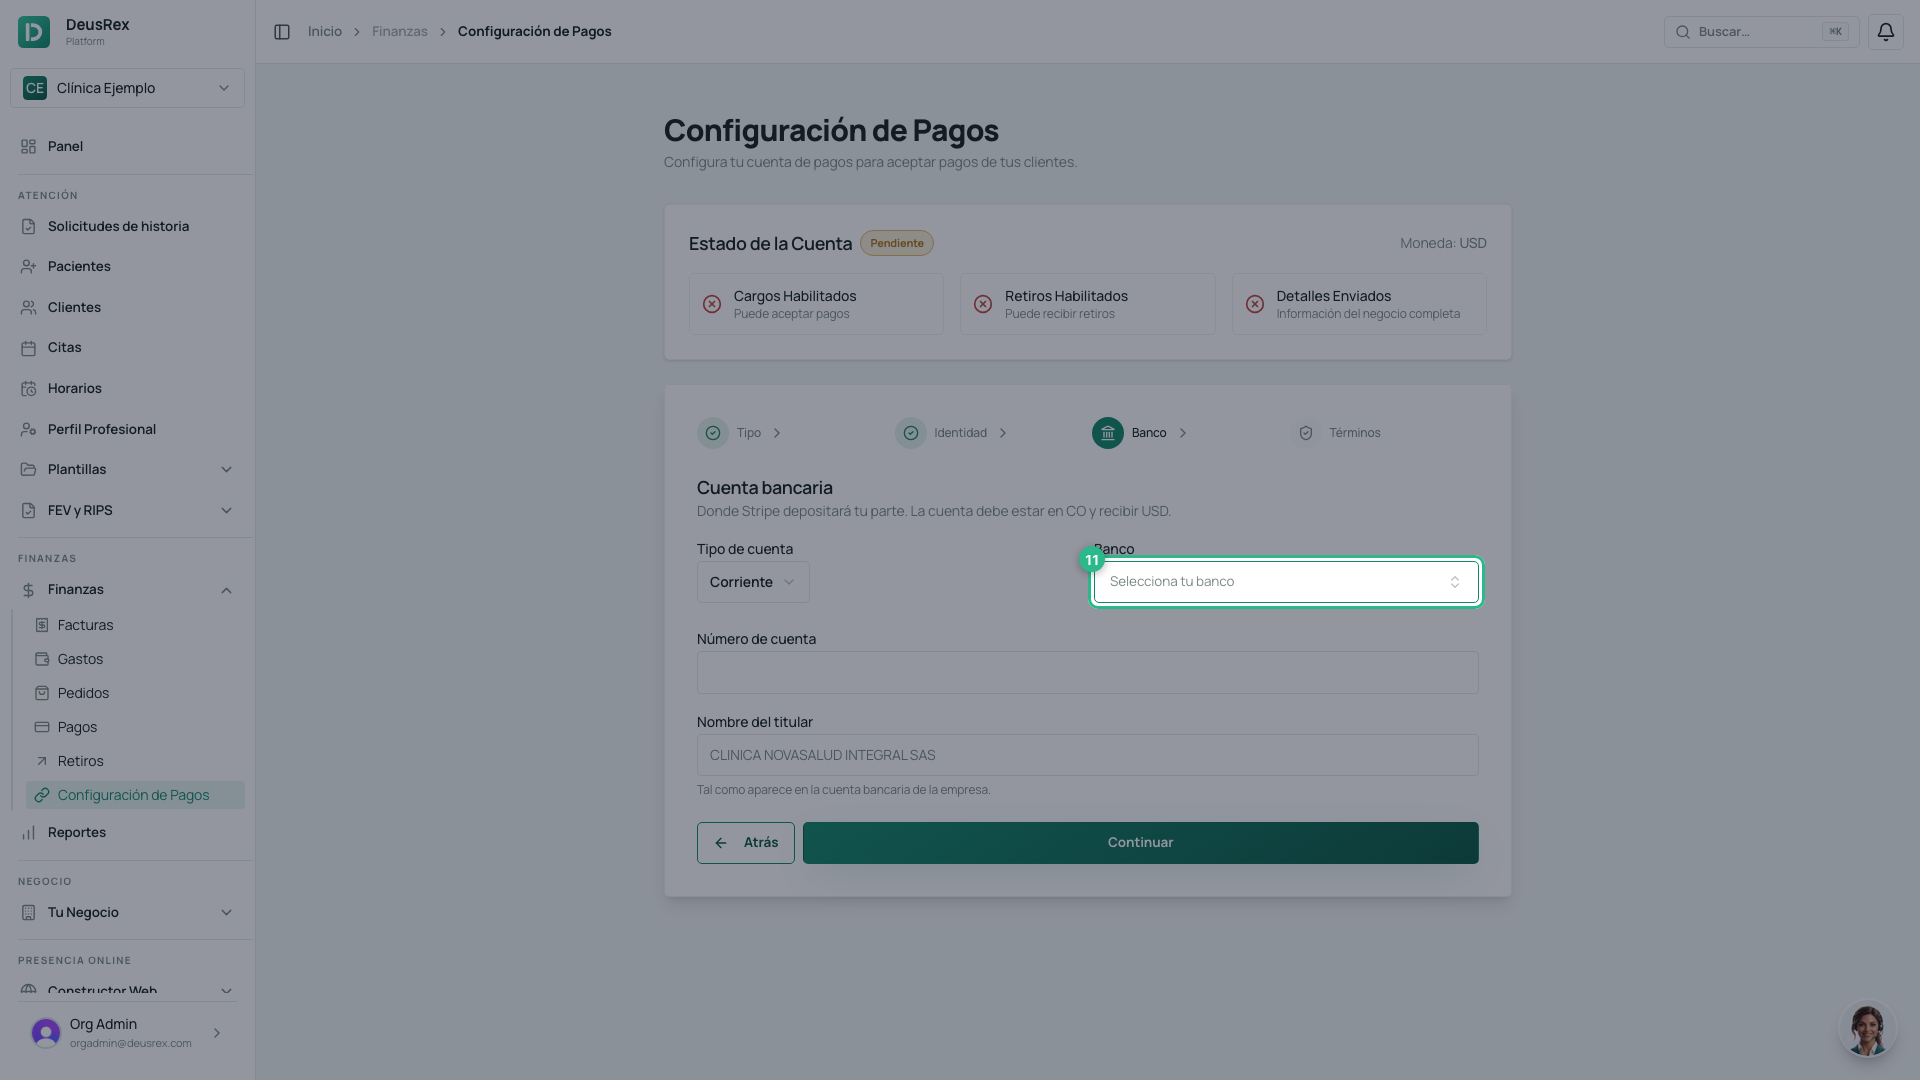
3. Bank account
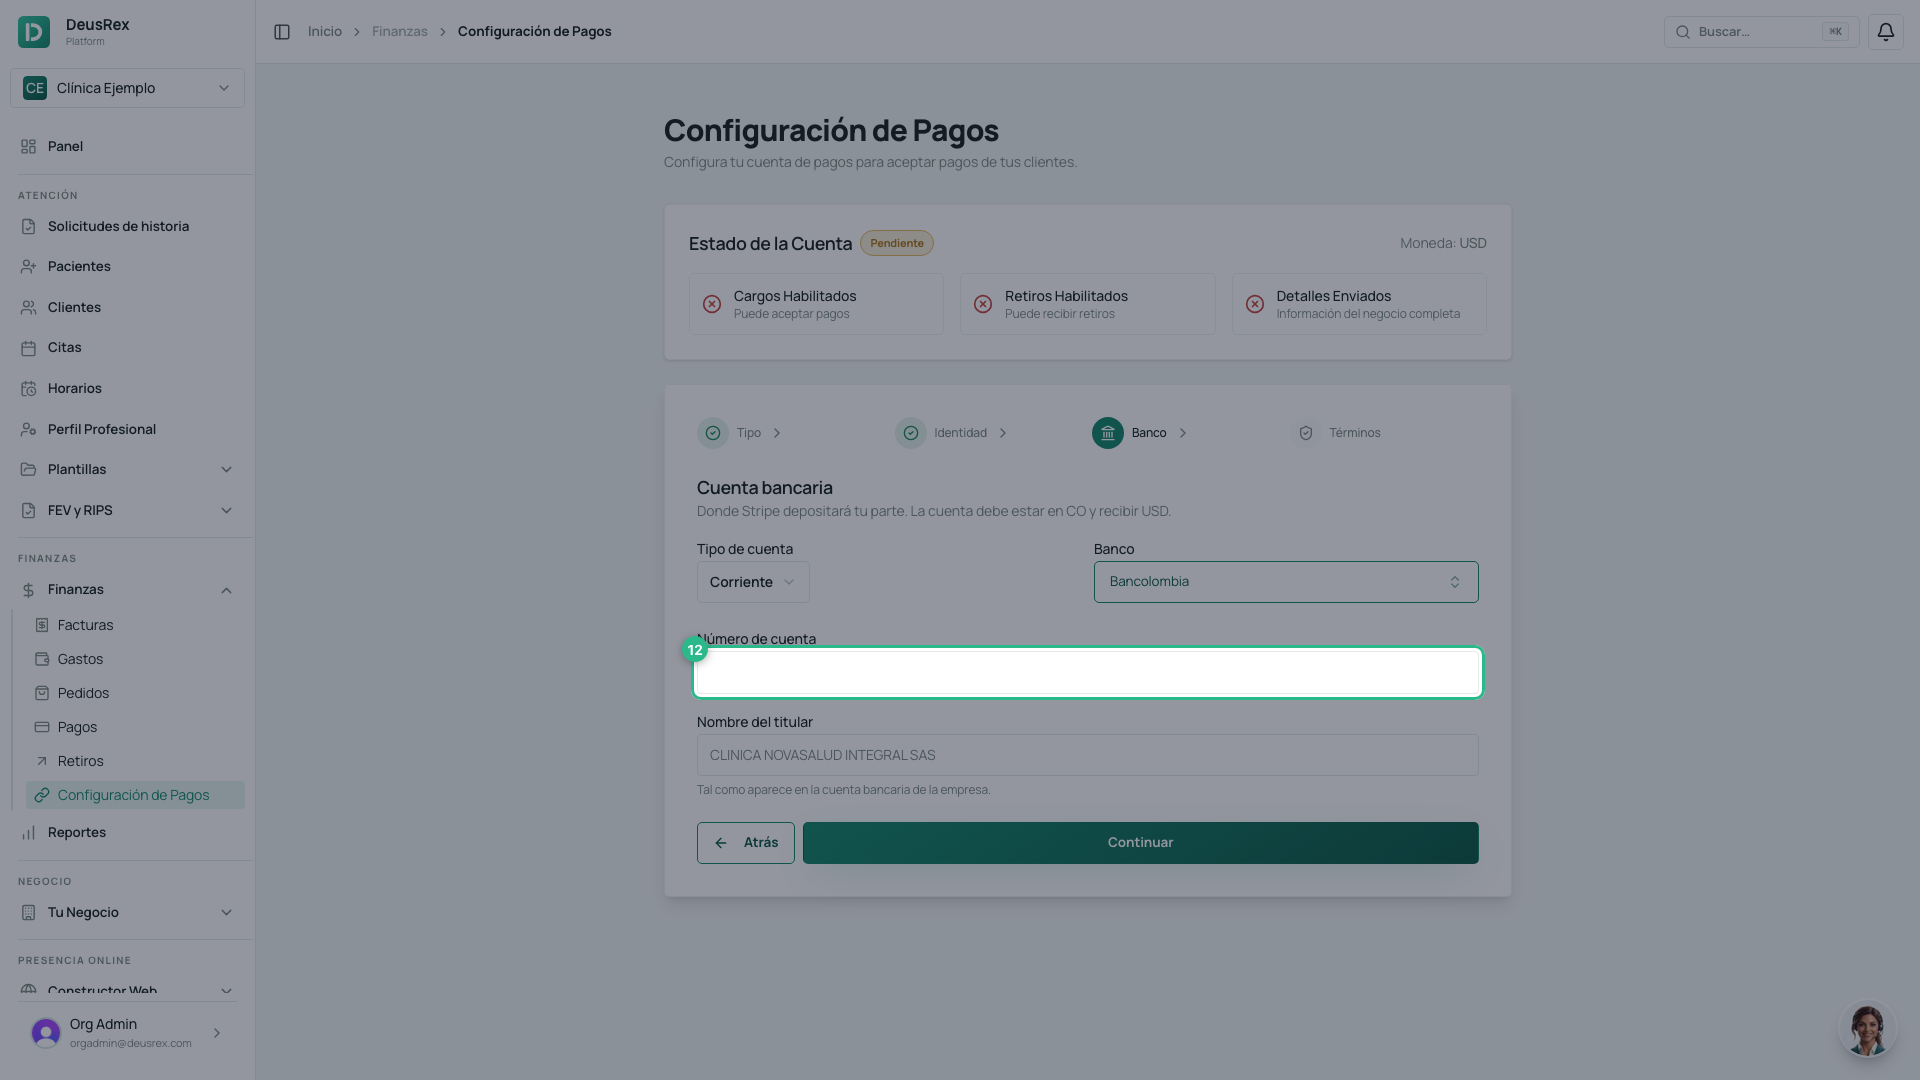
Pick your bank from the list, then enter the account number and the account holder name. Account type defaults to Checking; switch it to Savings if that is what you have.
-
The account must be in your country and receive your local currency.
-
The account holder name must match the bank’s records. If it does not, Stripe rejects the account and payouts stay blocked.
4. Terms and submit
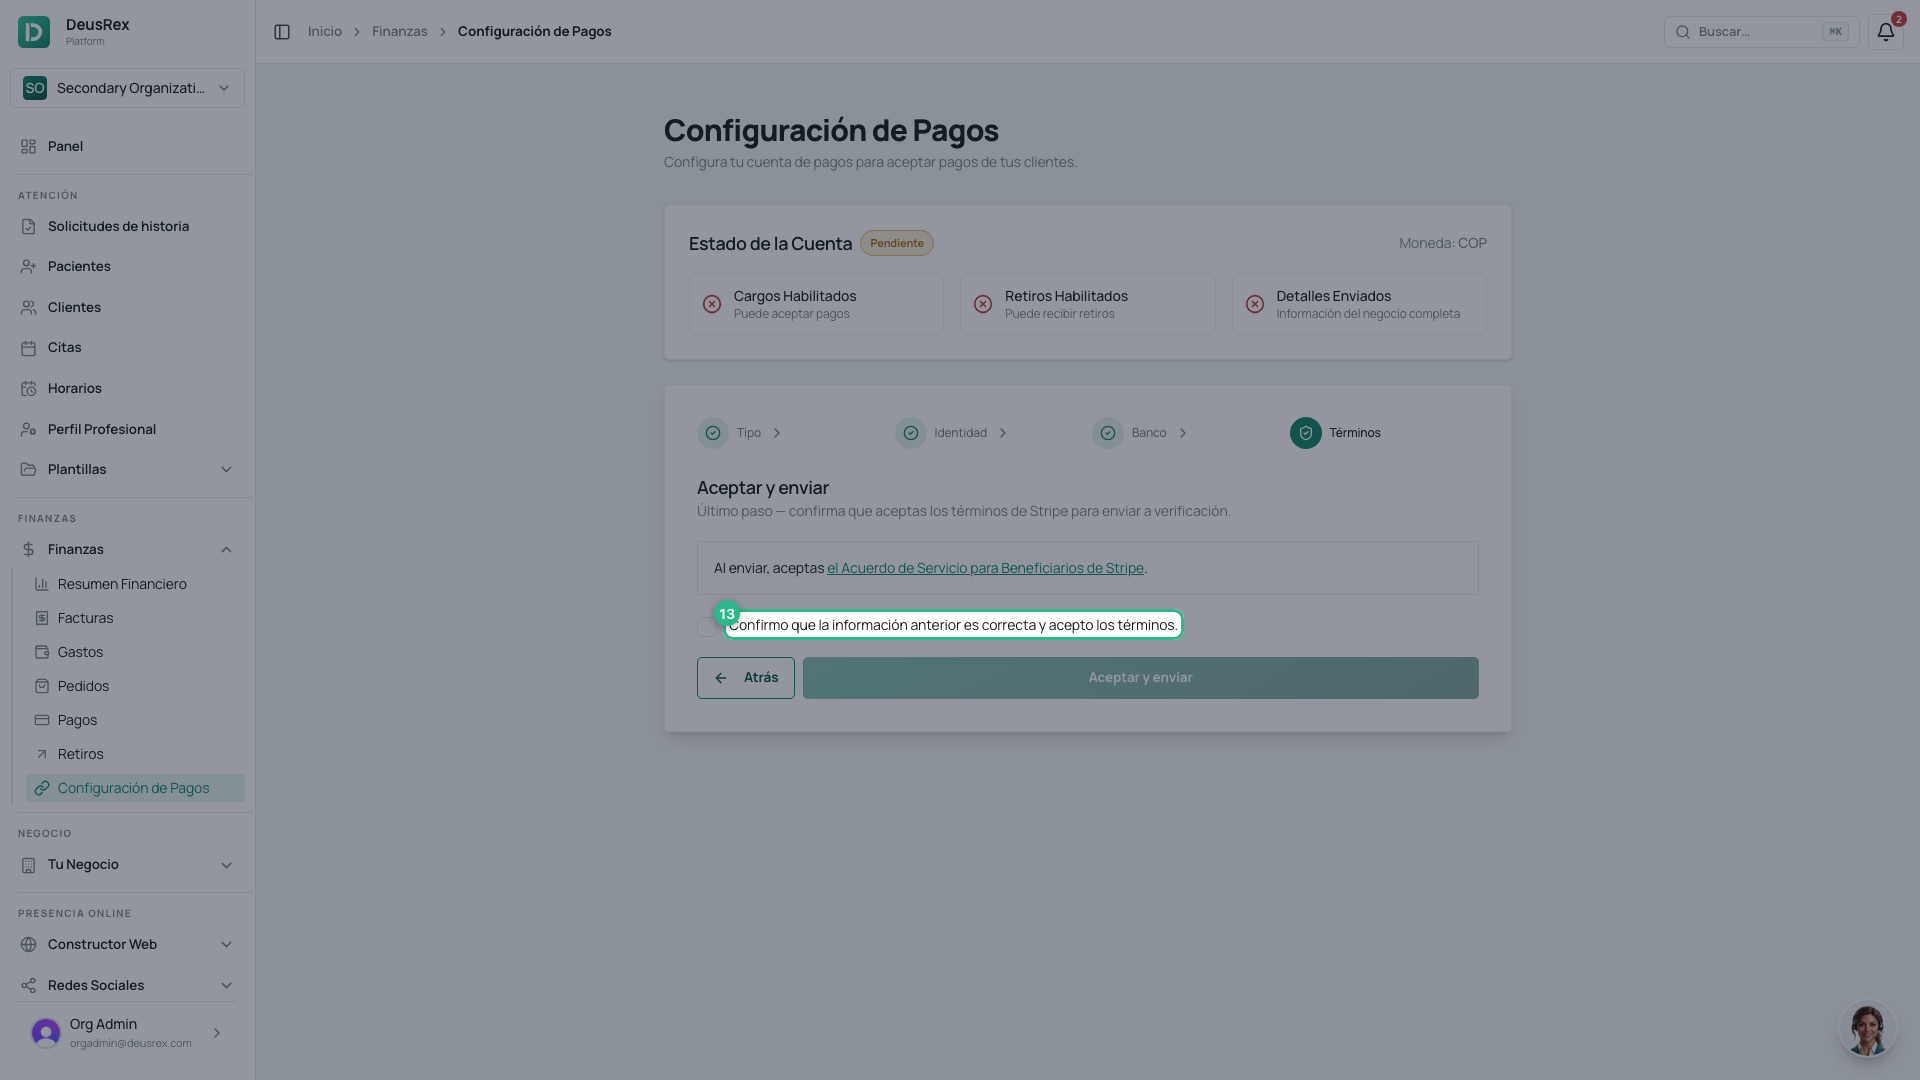
Tick I confirm the information above is correct and press Accept and submit. Stripe verifies the data, usually in under a minute.
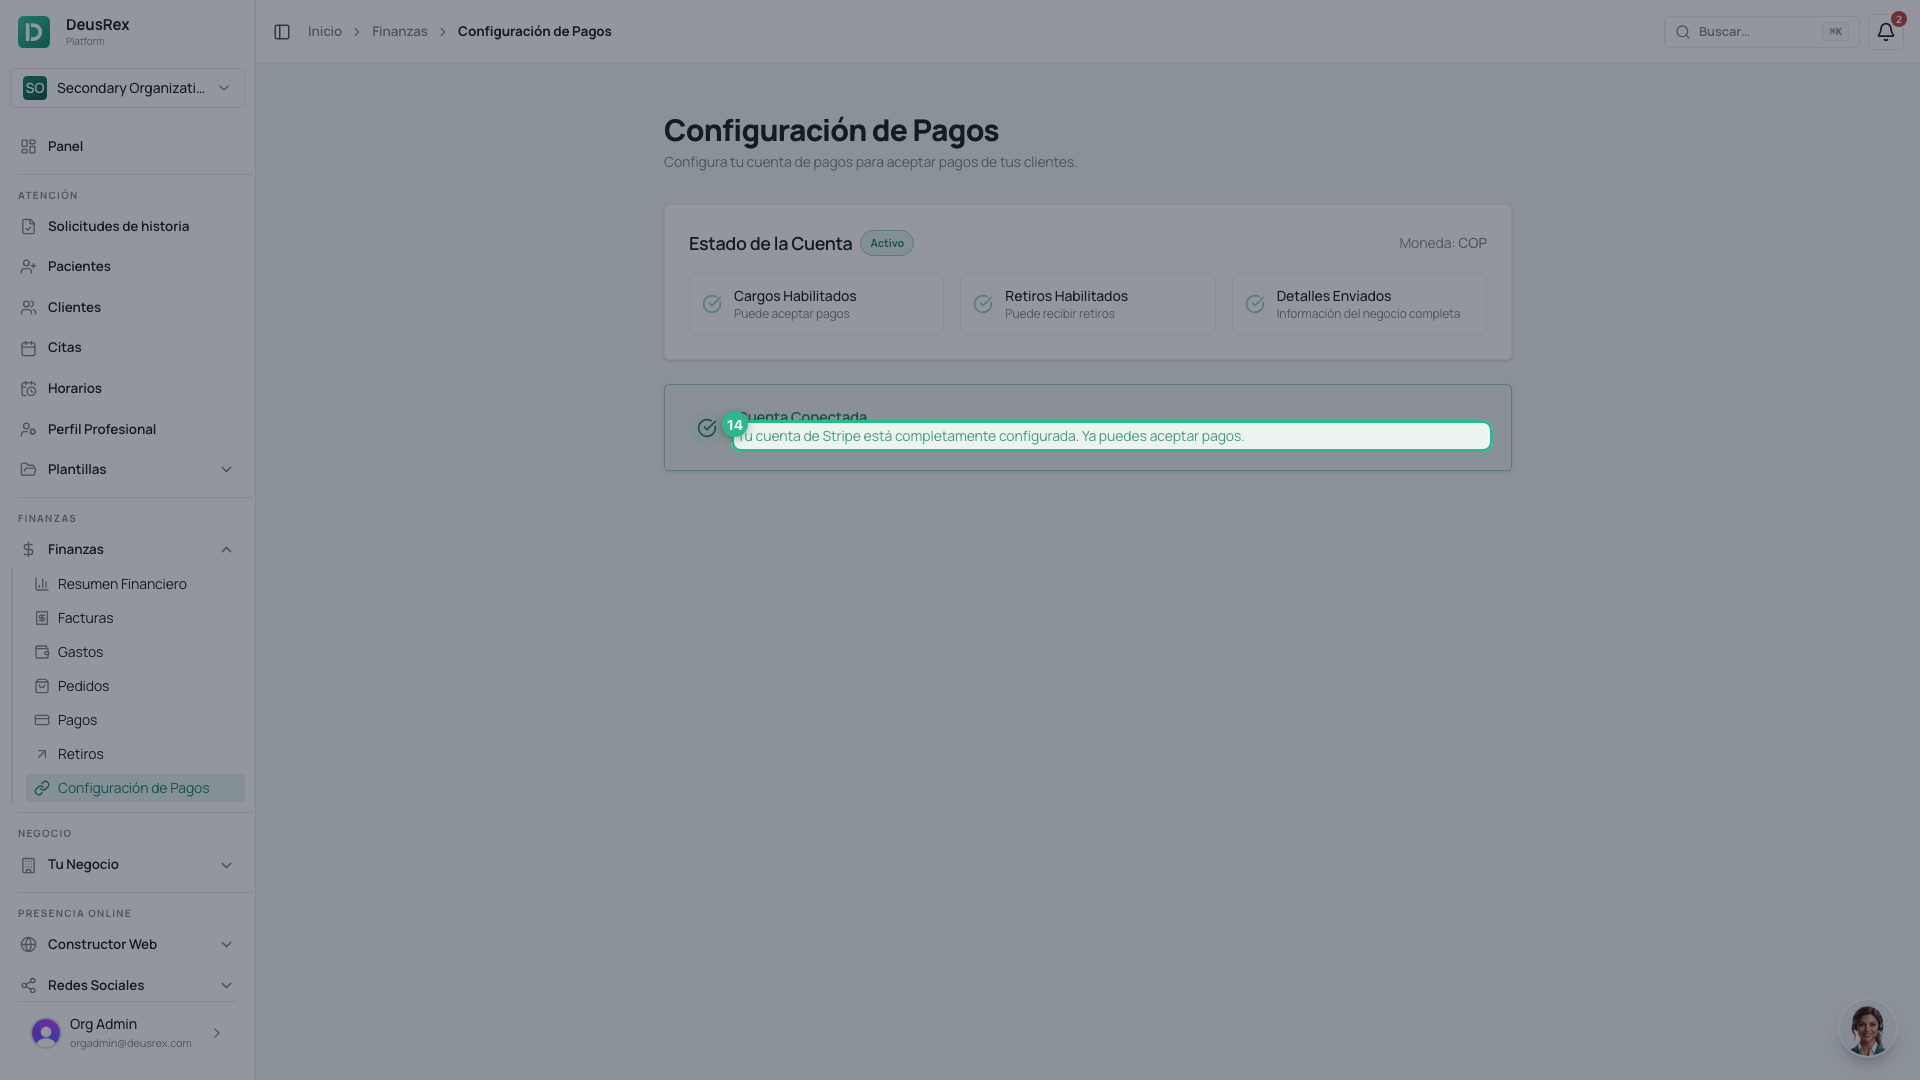
When it finishes, the screen shows Account Connected with all three indicators green: Charges Enabled, Payouts Enabled and Details Submitted. From that moment you can charge.
If Stripe needs anything else, the screen lists exactly which field to fix. Correct it and submit again — you do not start over.
If you declared a restricted activity
The button changes to Submit for review and your account stays under review while someone at DeusRex approves it. Meanwhile:
- You can keep completing the rest of the setup (identity, bank).
- You cannot charge yet: payment links and card charges stay blocked until it is approved.
- We will email you as soon as there is an answer. Nothing for you to do.
Tip
The category and activities you declare are sent to Stripe to assess your account. Declaring them accurately avoids Stripe freezing your charges later, once you already have patients paying.